Thursday, December 12, 2013

Texture Scarecrows


These fun scarecrows were done by the 1st-3rd grade Montessori students. During the first class, we learned about different types of textures. Students learned words like bumpy, smooth, rough, and several others to help reinforce the concept. We used a sponge to dab the moon and give it texture, while we did crayon rubbings to create another type of texture on the arms and hat. After the straw and bird were added, if students had time they stamped some fall leaves onto the background. This is a great project to show students many different types of texture used in artworks!

Thursday, December 5, 2013

Autumn Leaves


This autumn leaf painting was completed by the 4-6 Montessori classes. We began by observing and drawing a minimum of 5 different types of leaves. Students needed to draw them large, have leaves going off all four sides of the paper, and have some overlapping. We also drew four lines through the composition to break up the space. Students then painted the leaves using typical fall colors- red, orange, yellow and brown. Students were also able to mix to make some tertiary colors- such as red orange or yellow orange. During the final class, students created a Styrofoam leaf and printed more leaves on top. The color harmony and interesting view of space make these an awesome project for fall!

Wednesday, December 4, 2013

Aboriginal ClipCard

The January issue of SchoolArts magazine features an article I wrote about Aboriginal art. This was a lesson I taught to my 1-3 Montessori classes. You can access the online version of the magazine through this link:

http://www.davisart.com/portal/schoolarts/sadefault.aspx

Catching Leaves


Students in PreK and Kinder completed these wonderful watercolor paintings. We began by tracing our hands and coloring them with crayons. Students needed to use a color close to their own skin tone. We then did several leaf rubbings above the hands to look like we are catching the leaves while they fall! The final class we used blue watercolor paint to fill in the sky. This is a great project that captures one of our favorite fall activities!

Tuesday, October 29, 2013

Rainbow Self-Portraits


Montessori students in grades 1 through 3 created these vibrant and colorful self-portraits. We began by drawing a realistic portrait and coloring them with colored pencils. Students learned about Mondrian and the primary colors and created some Mondrian inspired umbrellas. To create the rainbow rain storm, students first learned the order of the color wheel. We then put drops of watercolor paint on the paper and blew them through a straw. This was a super fun lesson teaching portraiture and the many aspects of color!

Thursday, October 24, 2013

Medieval Dragons


Students in grades 4-6 created these medieval dragons in the style of ancient illuminated manuscripts. We began by drawing a scroll and drawing a detailed dragon. Once the drawing was complete, students painted over it with a light brown watercolor wash. During the next class, we outlined the dragon with a sharpie and colored it in with colored pencils. The final step was to add a name in a older style font. I love the three-dimensional look of the scrolls! Go Dealey Dragons!

Wednesday, October 16, 2013

Autumn Pumpkins


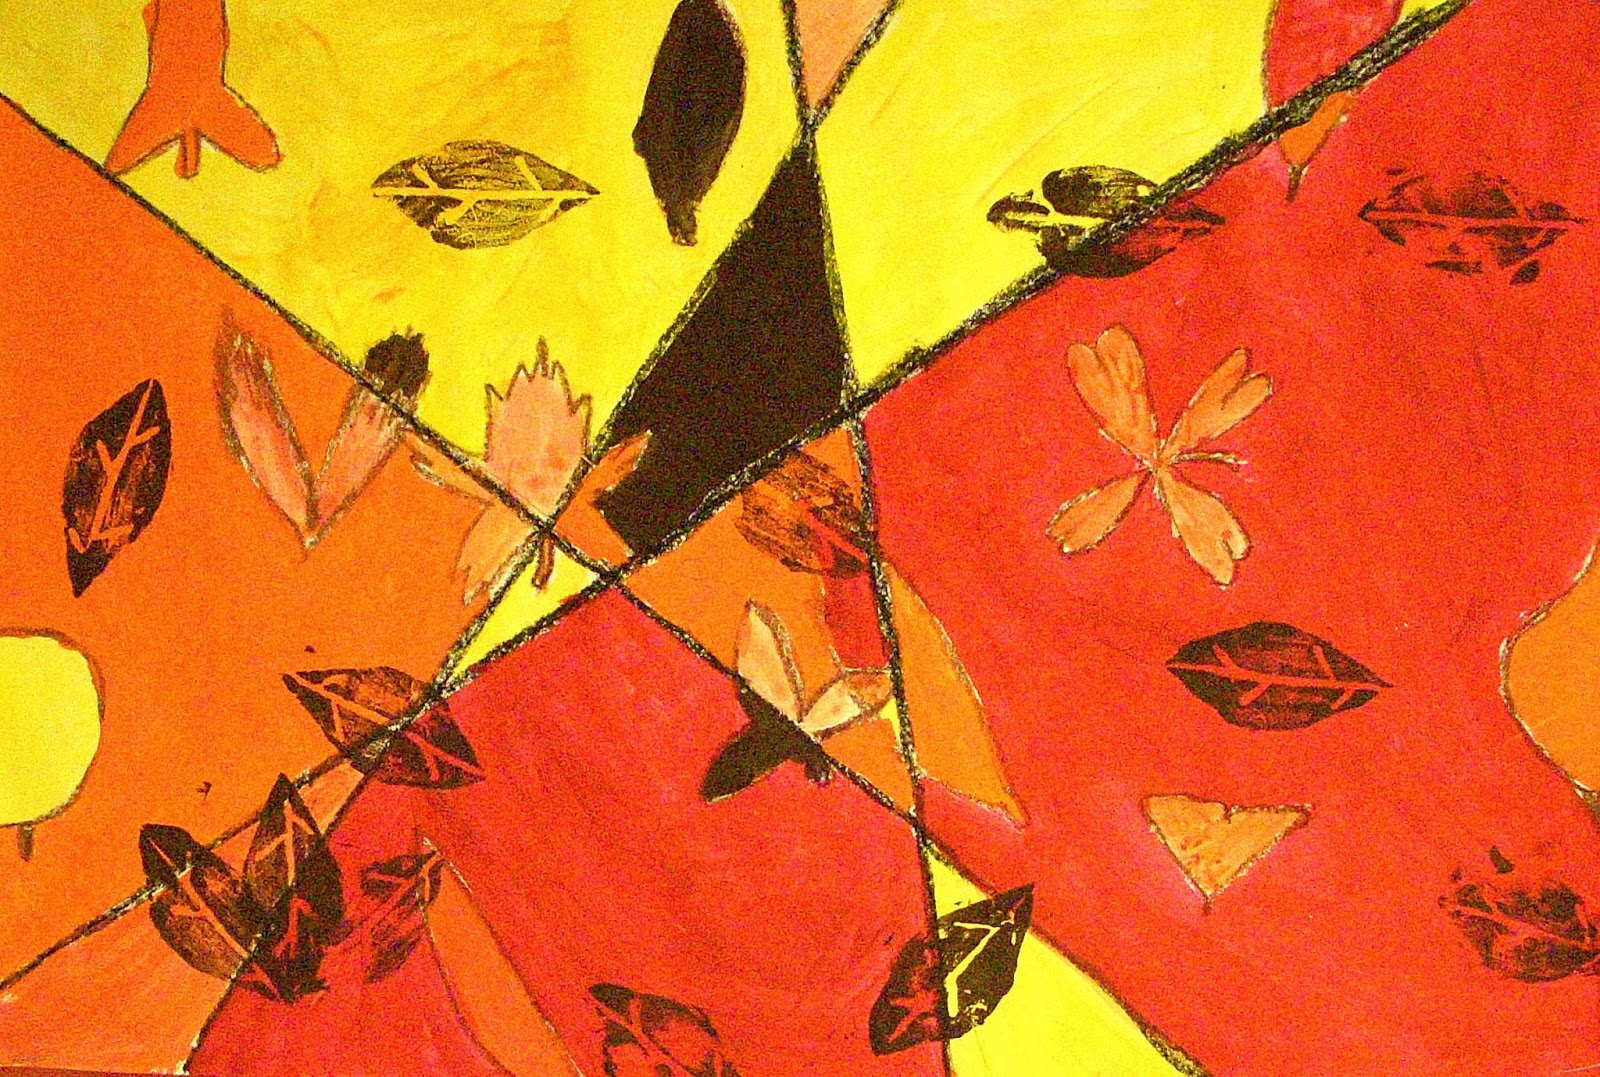
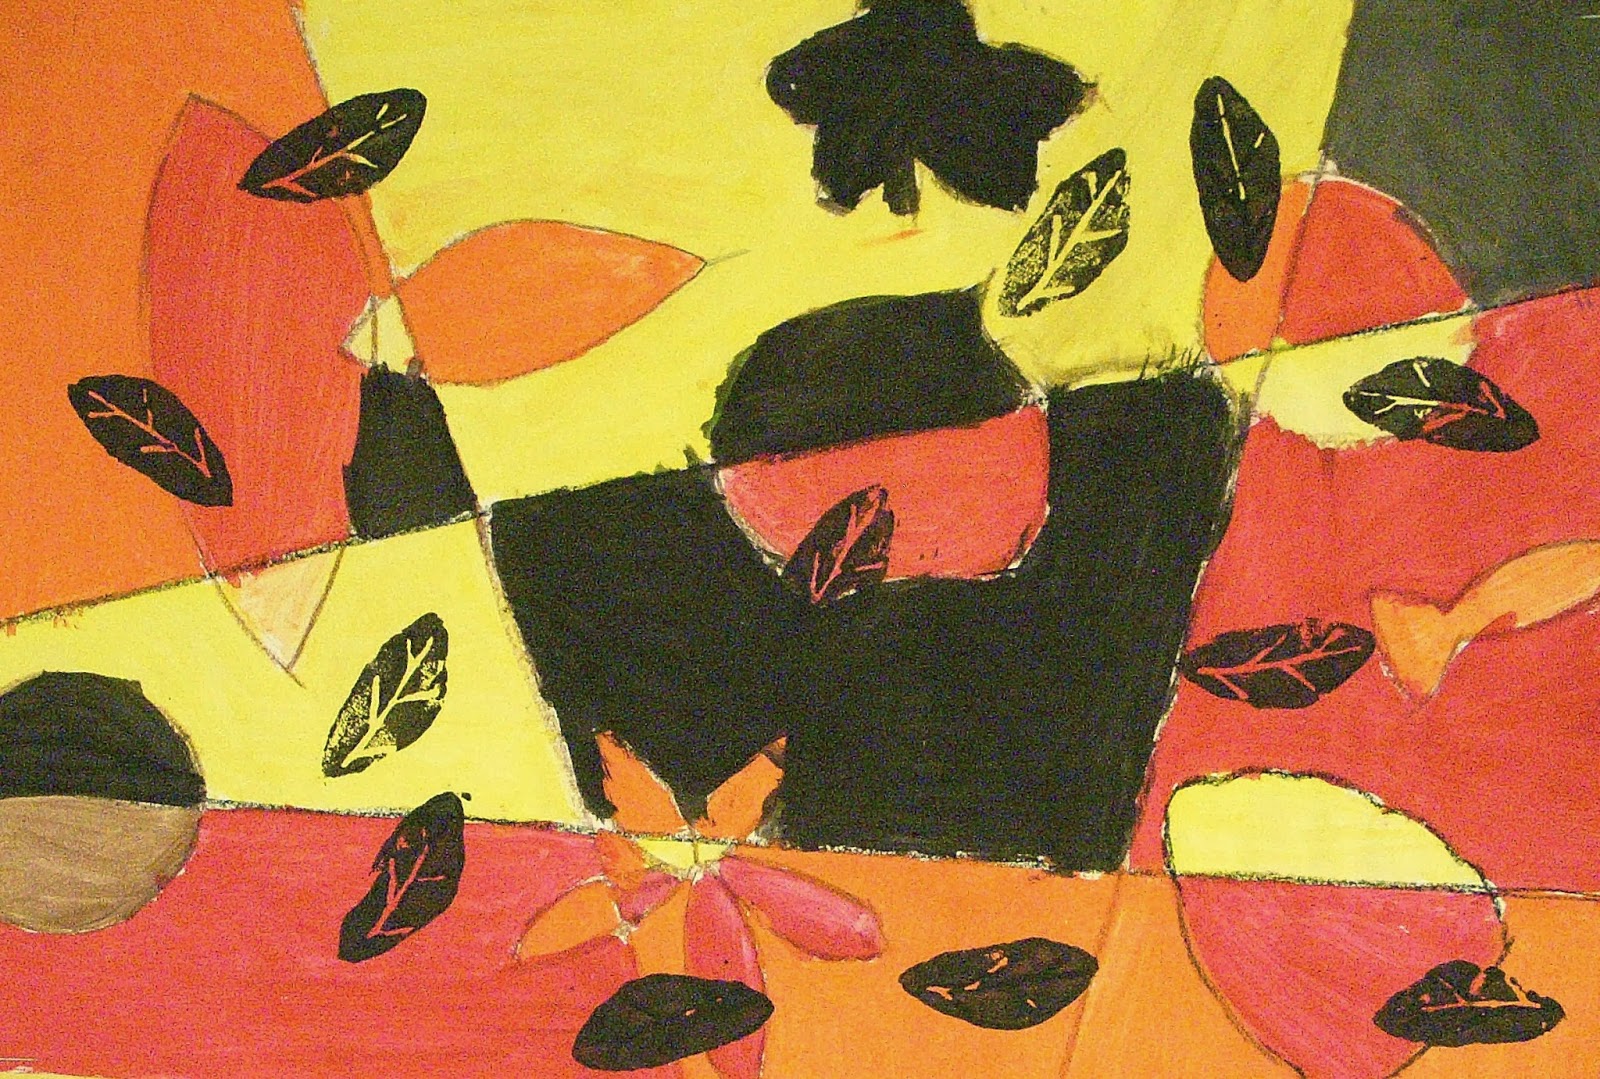
This is a great project for teaching wet-on-wet painting techniques, color blending, and how to use space in an artwork.

We began by doing sketches of pumpkins. I made sure students used contour lines while drawing and focused on details like vines and leaves. Once students were comfortable sketching the pumpkins, they then transferred that drawing onto a large piece of tag board. The students had to be very comfortable with the drawing, because the large drawing had to be done with glue! I did not let the students use pencil because once the glue dries, it becomes clear and the pencil drawing would become visible. These were left to dry overnight. The next day, I had the students use an ultra fine sharpie and outline all of the glue lines. It can be very difficult, and sometimes you may need to tilt the paper to be able to see where the glue is. Finally we were ready to paint! I showed the students how to use a wet-on-wet technique to spread color quickly, as well as how to blend analogous colors. You have to be sure to NOT paint over the glue lines, the glue does not resist the paint and can be very hard to remove.

These painting were very fun to do and extremely successful! I received many compliments and they made for a great Autumn display!


Warm Colored Lions


Students in PreK and Kinder created these adorable warm colored lions. We began by sponge painting red and yellow paint together to create orange. Once the paintings were dry, we traced the lions body and cut it out and added the lions head. I showed the students step-by-step how to draw the lions face using simple lines and shapes. On the final day, students added strips of paper to create the lions mane. This is a great lesson to teach warm colors, color mixing, and also simple patterns in artworks.

Thursday, September 26, 2013

Realistic vs. Expressive Portraits


Students in grades 4-6 created these watercolor portraits as their first artworks of the year! We began by drawing a proportional and detailed drawing of the face and outlining it with crayon. These portraits were then painted with watercolors. Students looked at the artwork of Chuck Close and Leonardo da Vinci and compared realistic and expressive portraits. Students then could choose to paint in the style they preferred.

Wednesday, September 25, 2013

Chuck Close Self-Portraits


International Academy students created these portraits in the style of American artist Chuck Close. Chuck Close is famous for drawing grids over photographs and using scale and ratios to create very large scale paintings. Students drew a grid over photographs so the larger drawings were proportional and accurate. These were then filled in with oil pastels so we could create realistic values. Students colored in the backgrounds with a complementary color for some added contrast. It's always a thrill for such young students to be able to create such a recognizable portrait!

Wrap Around Snakes


Students in grades 1-3 created these wrap around snakes with crayon, watercolor paints, and cut-out paper. We began by drawing a tree and snake during the first class. We added patterns to the snake and lines to the tree to create texture. These were then painted with watercolor paint. Students could also embellish the artwork with various types of cut-out leaves. This was an easy and fun project to begin the year and every student created a masterpiece!

"I'm an Artist" Self- Portraits


Students in PreKinder and Kinder created these adorable self-portraits. We began by creating a drawing on a small sheet of paper during the first week of school. The next step was to create the portrait using simple shapes and lines. This was a great introduction to art class for these young artists as well as a great introduction to the basic elements of art.

Friday, September 13, 2013

BaTiki Time!

Here is my latest published article in the August/September issue of SchoolArts magazine! This is my largest publication yet- 3 full pages. The Tiki design project was great for learning about the intersection of art and culture. Enjoy!


You can also access the digital version of the magazine through the SchoolArts website: http://www.davisart.com/portal/schoolarts/sadefault.aspx

Thursday, August 22, 2013

Insect Designs


4-6th grade Montessori students made these insect designs to explore the use of patterns and repetition in artworks. We began by observing many different types of insects. Students could draw one specific insect or take features of different insects and create an all new species. These were then transferred to a larger paper either randomly or as a specific design. We used markers to color in the insects and filled in the background with watercolor. This is a great cross-curricular lesson incorporating some important science concepts.